Azure

Serverless Kubernetes with Azure Container Apps

What are Azure Container Apps

Please note* as of writing Azure Container Apps is a preview feature. It is not ready for production applications.

Do you love containers but don’t have the time to manage your own Kubernetes platform? Azure Containers Apps is for you.

We all love containers their small, portable, and run anywhere. Azure Containers Apps are great if you just want to run some containers but that’s just the beginning. With Container Apps, you enjoy the benefits of running containers while you leave behind the concerns of manual cloud infrastructure configuration and complex container orchestrators. 

Azure Container Apps is serverless, so you just need to worry about your app code. You can use Azure Container Apps for public-facing endpoints, background processing apps, event-driven processing, and running microservices.

Azure Container Apps is built on top of Kubernetes which means some of the open-source foundations are available to you, like Dapr and KEDA. Something to note* is that you do not have access to K8s commands in Azure Containers Apps. As we love to do in modern architectures we can support different technologies, like node and .net at the same time. We can support HTTP, Microservices communication, event processing and background tasks. With Container Apps many of the requirements you have for Modern apps are built-in like robust auto-scaling, ingress, versioning, configuration, and observability. With Azure Container Apps you can use all the good parts of K8s without the hard parts.

Where does this fit in Azure?

In Azure, we already have AKS, ACI, Web Apps for containers, and Service Fabric. Why do we need something new? In a very short summary:
-Azure Kubernetes Service (AKS) is a fully managed Kubernetes option in Azure, the full cluster is inside your subscription which means you also have power, control, and responsibility. Eg. you still need to maintain the cluster with upgrades and monitoring.
-Container Instances allow you to run containers without running servers. It’s a lower-level building block but concepts like scale, load balancing, and certificates are not provided with ACI containers.
-Web Apps for containers (Azure App Service) is fully managed hosting for web applications run from code or containers. It optimised for running web applications and not for the same scenarios Container Apps eg Microservices.

So Azure Container Apps are designed for when you want to multiple containers, with K8s like funtionality without the hassle of managing K8s.

You can find more details on the differences here.

As you can see Azure Container Apps looks like a compelling offer for many Azure microservices scenarios. At XAM in our Azure Consulting practice, we are extremely excited about the future of Azure Container Apps.

Getting Started

The great thing about Azure Containers Apps is that it’s really easy to get started. In this post we are going to assume you have an Azure subscription.

If you haven’t already you need to install the Azure cli.

brew update && brew install azure-cli

Once you’ve completed the installation then you can login to Azure

az login

Then you can easily install the Azure Container Apps cli

az extension add \
  --source https://workerappscliextension.blob.core.windows.net/azure-cli-extension/containerapp-0.2.2-py2.py3-none-any.whl

In order to run a container app, we need both a log analytics workspace and a container apps environment. So first let’s setup the log analytics workspace.

 az monitor log-analytics workspace create \
  --resource-group InternalProjects \
  --workspace-name demoproject-logs    

Then we can get the workspace client id and secret of the workspace.

LOG_ANALYTICS_WORKSPACE_CLIENT_ID=`az monitor log-analytics workspace show --query customerId -g InternalProjects -n demoproject-logs -o tsv | tr -d '[:space:]'`
LOG_ANALYTICS_WORKSPACE_CLIENT_SECRET=`az monitor log-analytics workspace get-shared-keys --query primarySharedKey -g InternalProjects -n demoproject-logs -o tsv | tr -d '[:space:]'`

Now that we have a log analytics workspace we can create our Azure Container Apps environment. An Environment is a secure boundary around groups of container apps.

az containerapp env create \
  --name containerappsdemo \
  --resource-group InternalProjects\
  --logs-workspace-id $LOG_ANALYTICS_WORKSPACE_CLIENT_ID \
  --logs-workspace-key $LOG_ANALYTICS_WORKSPACE_CLIENT_SECRET \
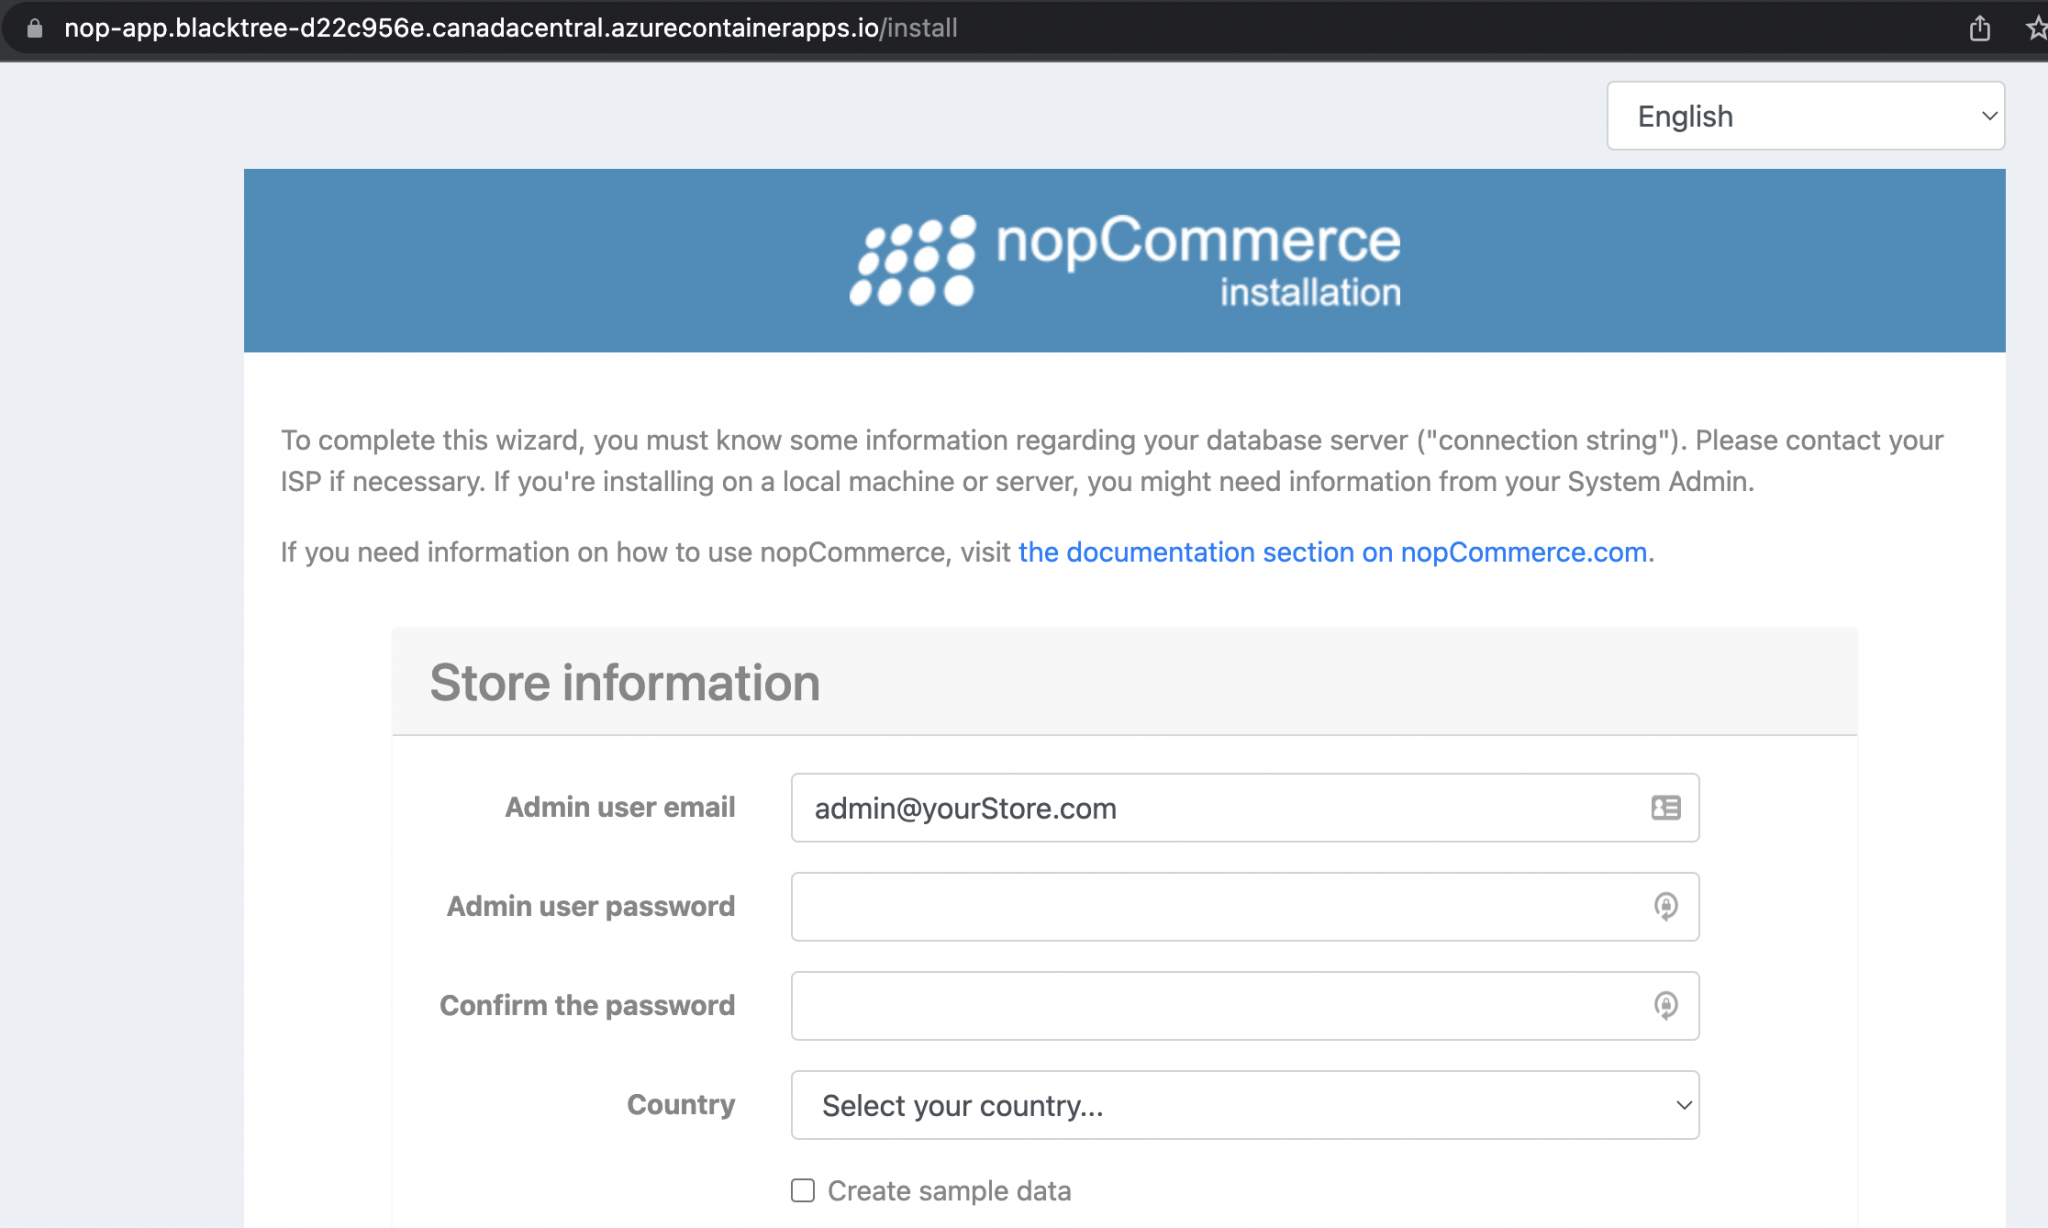
  --location canadacentral

Now that we have our Container Apps Environment we can easily run a container. Rather than make our own image we can use something already built, in this case I’m going to use the docker images of nopcommerce (which is a .net eCommerce platform). You can see the image here: https://hub.docker.com/r/nopcommerceteam/nopcommerce:latest

az containerapp create \
  --name nop-app \
  --resource-group XAMInternalProjects \
  --environment containerappsdemo \
  --image docker.io/nopcommerceteam/nopcommerce \
  --target-port 80 \
  --ingress 'external' \
  --query configuration.ingress.fqdn

After we run our command we get the public location of the running container apps and can easily browse and see this running.

Running multiple containers and multiple technologies

Now that we have our environment we can easily run more containers. We already know with containers we get this for free but for fun let’s use multiple technologies, so why not now run a nodejs application next to our .net app. In this case I’ve also used another pre-built container which is a hello world nodejs app, https://mcr.microsoft.com/azuredocs/aci-helloworld

az containerapp create \
  --name nodeapp \  
  --resource-group InternalProjects \
  --environment containerappsdemo \
  --image mcr.microsoft.com/azuredocs/aci-helloworld  \ 
  --target-port 80 \
  --ingress 'external' \
  --query configuration.ingress.fqdn

After we run our command we are returned the public url of the Container App, we can see below the url of

If we then open that url in our browser, we can see we’ve got our running node app and with a secure endpoint.

Summary

Azure Containers Apps allows you to build K8s style applications without the hassle of managing K8s. This technology has a huge amount of potential to help all sizes of companies deliver more value to their customers faster and more efficiently, by cutting down on the management/configuration required for these types of applications.

I’m really excited to see Azure Container Apps evolve and I would love to one day use this in a production scenario.

Easy real-time, event-driven and serverless with Azure

One of the most exciting parts of modern cloud platforms is serverless and the event driven architectures you can build with it. The reason that it’s so exciting is because it’s a double win, not only does it give you all the advantages of the cloud like easy elastic scale, isolation, easy deployment, low management etc but it’s also extremely easy to get started. We can also avoid the container and container management rabbit hole.

Azure Functions

Azure Functions is a serverless offering on the Azure platform. In a nutshell you create individual functions that you upload into the cloud and run individually. Here’s an example of a simple function that you can call via Http.

[FunctionName("SimpleFunction")]
public static async Task<IActionResult> Run(
    [HttpTrigger(AuthorizationLevel.Function, "get", "post", Route = null)] HttpRequest req,
    ILogger log)
{
    log.LogInformation("C# HTTP trigger function processed a request.");

    string name = req.Query["name"];

    string requestBody = await new StreamReader(req.Body).ReadToEndAsync();
    dynamic data = JsonConvert.DeserializeObject(requestBody);
    name = name ?? data?.name;

    return name != null
        ? (ActionResult)new OkObjectResult($"Hello, {name}")
        : new BadRequestObjectResult("Please pass a name on the query string or in the request body");
}

This simple function is triggered via Http and returns a string saying Hello {name}. The name is passed in via a query string parameter.

Azure Functions are made up of 2 primary things, Triggers and Bindings.

Triggers

A trigger is how a Function is started, as we see the sample above is a HttpTrigger. Functions has a number of triggers that we can use including:
Http trigger – function that runs when a http end point is hit
Timer trigger – runs on a schedule
Queue trigger – runs when a message is added to a queue storage
Blob trigger – runs whenever a blob is added to a specificied container
EventHub trigger – runs whenever event hub recieves a new message
IoT Hub Trigger – runs whenever an iot hub recieves a new event on the event hub endpoint
ServiceBus Queue trigger – runs when a message is added to a specified Service Bus queu
ServiceBus Topic trigger – runs when a message is added to s specified ServiceBus topic
CosmosDB trigger – runs when documents change in a document collection

In this post we’ll be focusing on the Cosmos DB trigger.

Bindings

Bindings are a way of declaratively connecting another resource to the function eg binding to Cosmos DB provides you a CosmosDB Connection and allows you to insert data into CosmosDB; bindings may be connected as input bindings, output bindings, or both. Data from bindings is provided to the function as parameters.

Cosmos DB

Cosmos DB is a multi-model global scale database with easy single touch geo-replication. It’s fast and has more SLA’s than any another cloud database on the market. One of the advanced features we get in Cosmos DB is change feed, Cosmos DB Change Feed is a log of all the changes that have occurred on a collection in the database. You’ll be able to see inserts, updates and deletes. As mentioned before Cosmos DB has a Azure Function trigger that uses change feed, so in essence we can call a function every-time a CosmosDB is triggered and pass in the data.

You can see below we’ve got a Cosmos DB triggered functions, a list of changed documents is provided into the function.

[FunctionName("CosmosTrigger")]
public static async Task CosmosTrigger([CosmosDBTrigger(
    databaseName: "CDALocations",
    collectionName: "Location",
    ConnectionStringSetting = "AzureWebJobsCosmosDBConnectionString",
    LeaseCollectionName = "leases",
    FeedPollDelay = 1000,
    CreateLeaseCollectionIfNotExists = true)]IReadOnlyList<Document> documents,
    ILogger log)
{
    if (documents != null && documents.Count > 0)
    {
        log.LogInformation($"Documents modified: {documents.Count}");
        log.LogInformation($"First document Id: {documents[0].Id}");
    }
}

To show you a diagram in a diagram see below:

CosmosDB Change Feed

SignalR Service w Real World Example

SignalR service is fully managed real-time communications service.

Let’s put this into a real world scenario. The legendary James Montemagno built a Cloud Enabled Xamarin Application called GEO Contacts which we can find on github here. Geo Contacts is a cross-platform mobile contact application sample for iOS and Android built with Xamarin.Forms and leverages several services inside of Azure including Azure AD B2C, Functions, and Cosmos DB. This application allows you to check into locations and see who else has checked into a location near you, which is awesome but there’s a little bit of missing functionality that I would like, if I’ve already checked into a location I would like to be notified if another person checks in near me.

The process flow will be as follows:
1) A user checks in at a location like Sydney, Australia
2) Azure Function is called to store the data inside Cosmos DB
4) The Azure Function that is subscribed to that change feed is called with the change documents
5) The function will then notify other users via SignalR.

Setup the SignalR Service

We first have to setup SignalR Service and integrate with the Functions and the Mobile app.

Go into Azure and create a new SignalR service.

newsignalr

Then take the keys from the SignalR service and add the configuration into the Azure Function.

signalrsettings

If we want to get the SignalR configuration into the client Azure Functions makes this easy. We create a simple function that returns the SignalR details.

[FunctionName("GetSignalRInfo")]
public static SignalRConnectionInfo GetSignalRInfo(
    [HttpTrigger(AuthorizationLevel.Anonymous)]HttpRequest req,
    [SignalRConnectionInfo(HubName = "locations")]SignalRConnectionInfo connectionInfo)
{
    return connectionInfo;
}

Then we create the signalr client in the Xamarin application.

var client = new HttpClient();
string result = await client.GetStringAsync("https://geocontacts2.azurewebsites.net/api/GetSignalRInfo");
SignalRConnectionInfo signalRConnectionInfo = JsonConvert.DeserializeObject<SignalRConnectionInfo>(result);

if (hubConnection == null)
{
    hubConnection = new HubConnectionBuilder()
                        .WithUrl(signalRConnectionInfo.Url, options =>
                        {
                            options.AccessTokenProvider = () => Task.FromResult(signalRConnectionInfo.AccessToken);
                        })
                        .Build();

    await hubConnection.StartAsync();
}

Setup the Change Feed

Now that we have the SignalR setup we can setup the change feed. The only thing we need to setup for change feed is the leases collection.

Now that we’ve setup the leases collection building the event driven function is very simple. We only need to use the CosmosDBTrigger with the correct configuration and then add the SignalR binding.

In the function below, we can see it uses the CosmosDBTrigger it gets executed when a location is added into the Location collection, we’re also have the SignalR binding which means we can easily sending messages to the Xamarin clients we setup.

[FunctionName("CosmosTrigger")]
public static async Task CosmosTrigger([CosmosDBTrigger(
    databaseName: "CDALocations",
    collectionName: "Location",
    ConnectionStringSetting = "AzureWebJobsCosmosDBConnectionString",
    LeaseCollectionName = "leases",
    FeedPollDelay = 1000,
    CreateLeaseCollectionIfNotExists = true)]IReadOnlyList<Document> documents,
    [SignalR(HubName = "locations")]IAsyncCollector<SignalRMessage> signalRMessages,
    ILogger log)
{

    List<LocationUpdate> locations = new List<LocationUpdate>();

    if (documents != null && documents.Count > 0)
    {
        log.LogInformation($"Documents modified: {documents.Count}");
        log.LogInformation($"First document Id: {documents[0].Id}");

        locations.Add(await documents[0].ReadAsAsync<LocationUpdate>());
    }

    await signalRMessages.AddAsync(
       new SignalRMessage
       {
           Target = "nearMe",
           Arguments = new[] { locations.ToArray() }
       });

    log.LogInformation($"Sent SignalR Message");
}

That’s it, now we have a scalable, real-time and event-driven system.