This is post #3 in a series called ‘.NET MAUI Source of Truth’.
About Source Of Truth – As any developer knows, source code is the purest form of truth in working software. So I’ve decided the best way to get deep into .NET MAUI is to look at the source code.
In my last posts, we explored the .NET MAUI codebase learning about the new Windows functionality, and then managed to get a demo of them working in Preview11.
In my previous research, I noticed a new method on Window called AddOverlay. In this post I’m going to explore WindowOverlays, what are they? How is it implemented natively? How does it maintain state, including during page navigation? When should I use them? How is it related to the traditional navigation style and Shell? What can we use it for? (login screens/flows) How do we animate it?
Going back to the roots of ‘Source of Truth’ this post is going to focus on the .NET MAUI source code and look at how things are implemented.
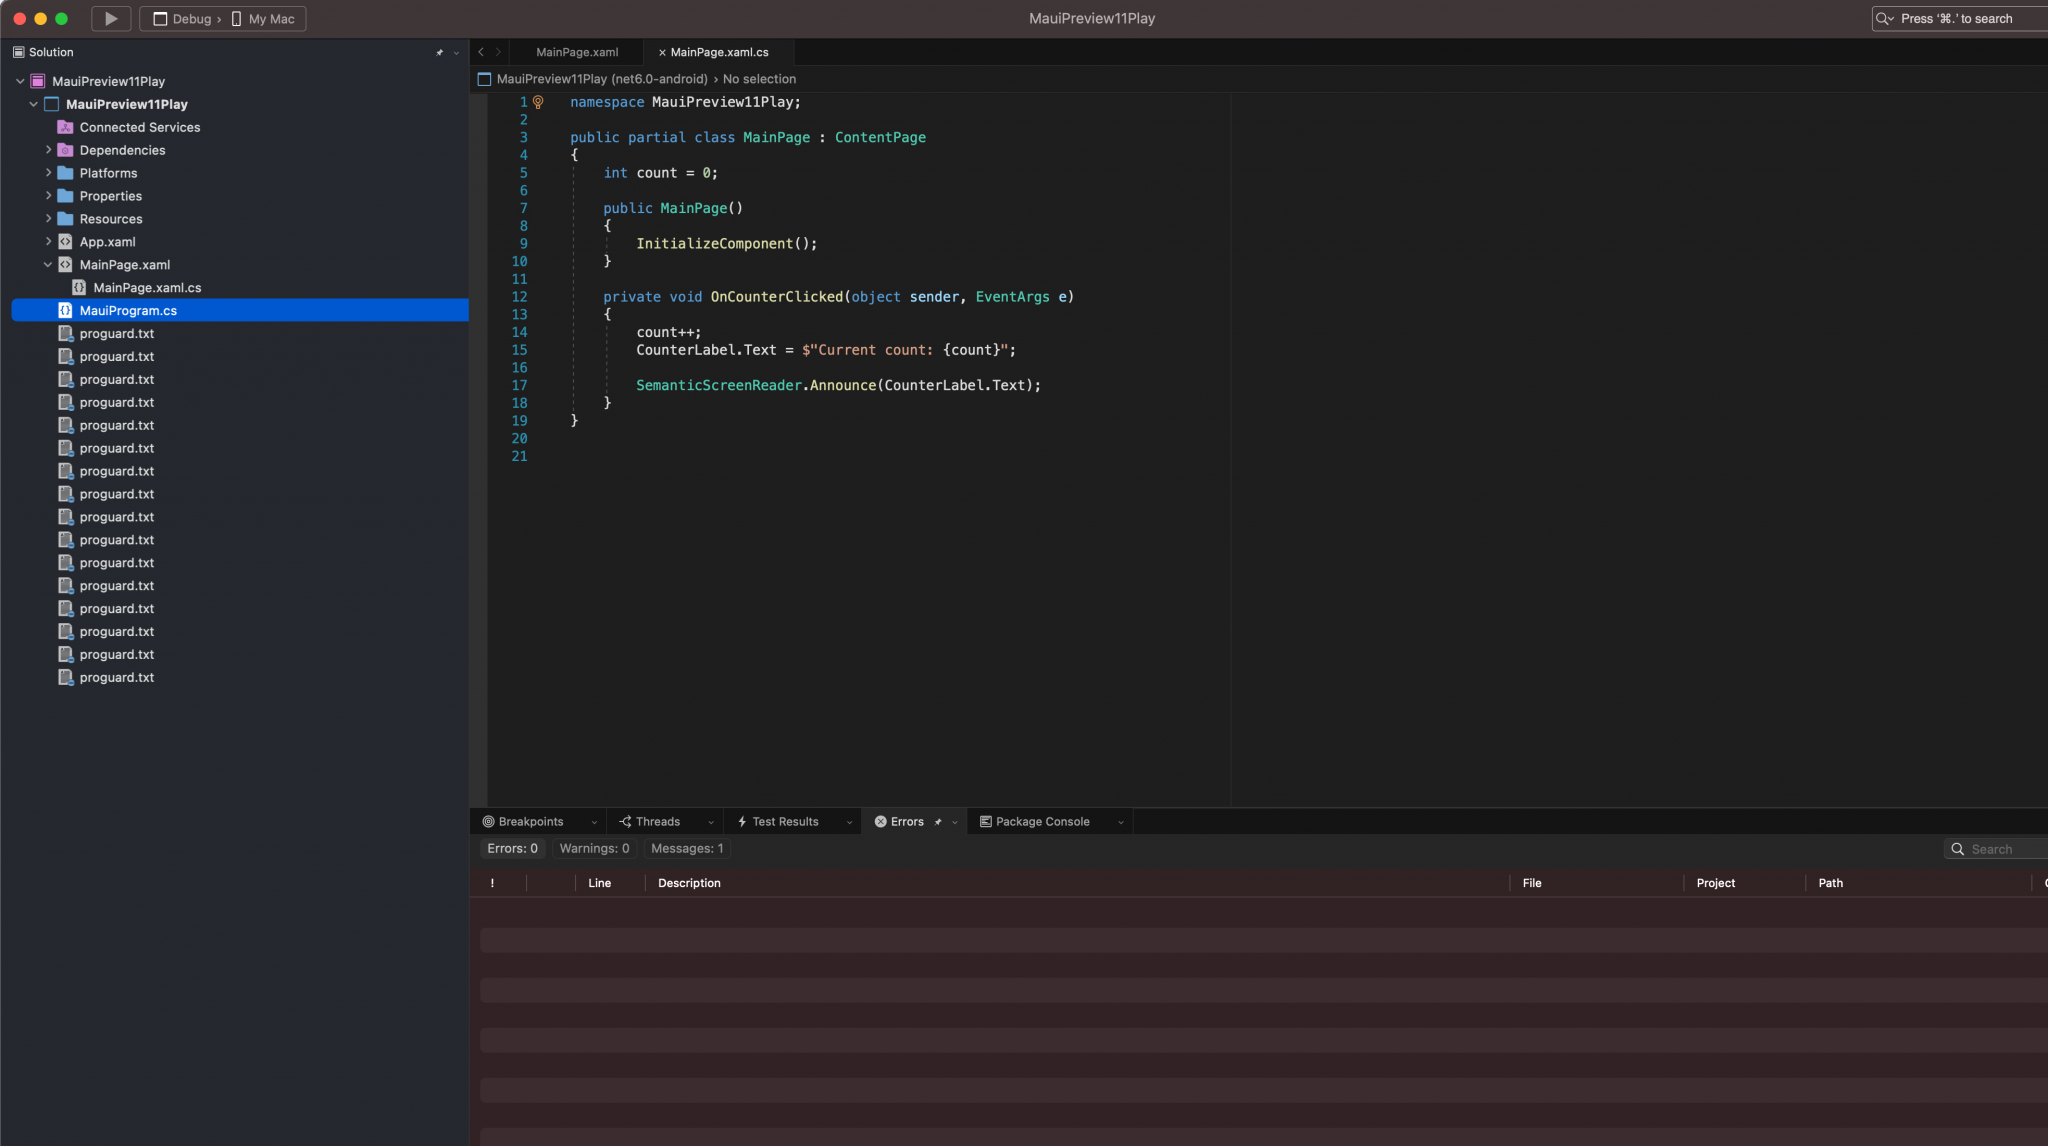
To do this post I’ve downloaded the .NET MAUI source code from github and opened it in Visual Studio for Mac Preview.
If we start at the source we can see that IWindow has 2 methods and a property in relation to Overlays.
/// <summary>
/// Provides the ability to create, configure, show, and manage Windows.
/// </summary>
public interface IWindow : ITitledElement
{
	/// <summary>
	/// Gets the read only collection of Window Overlays on top of the Window.
	/// </summary>
	IReadOnlyCollection<IWindowOverlay> Overlays { get; }

	/// <summary>
	/// Adds a Window Overlay to the current Window.
	/// </summary>
	/// <param name="overlay"><see cref="IWindowOverlay"/>.</param>
	/// <returns>Boolean if the window overlay was added.</returns>
	bool AddOverlay(IWindowOverlay overlay);

	/// <summary>
	/// Removes a Window Overlay to the current Window.
	/// </summary>
	/// <param name="overlay"><see cref="IWindowOverlay"/>.</param>
	/// <returns>Boolean if the window overlay was removed.</returns>
	bool RemoveOverlay(IWindowOverlay overlay);
As my next step I thought I would take a look in the codebase looking to see where AddOverlay is used, (hoping we had a sample). In the search, I found a test and a sample. Using the overlay methods seems simple enough.
void TestAddOverlayWindow(object sender, EventArgs e)
{
	var window = GetParentWindow();
	overlay ??= new TestWindowOverlay(window);
	window.AddOverlay(overlay);
}

void TestRemoveOverlayWindow(object sender, EventArgs e)
{
	if (overlay is not null)
	{
		GetParentWindow().RemoveOverlay(overlay);
		overlay = null;
	}
}
Next, I’ve taken a look at how the AddOverlay method is implemented in the Window(.NET MAUI Window), Window.Impl.cs.
/// <inheritdoc/>
public bool AddOverlay(IWindowOverlay overlay)
{
	if (overlay is IVisualDiagnosticsOverlay)
		return false;

	// Add the overlay. If it's added,
	// Initalize the native layer if it wasn't already,
	// and call invalidate so it will be drawn.
	var result = _overlays.Add(overlay);
	if (result)
	{
		overlay.Initialize();
		overlay.Invalidate();
	}

	return result;
}
It’s a simple method, the overlay gets added to the list, then initialised and invalidated. In this method, it doesn’t show how these overlays are rendered onto the screen. In order to find this out, we will need to do a bit more digging.
At this point in time, you might ask the question has this functionality even been implemented? I had the same question so I’ve taken the sample code from my previous blog, you can find here, and added some code to test. I added and overlayed the following:
public class TestWindowOverlay : WindowOverlay
{
IWindowOverlayElement _testWindowDrawable;
public TestWindowOverlay(Window window)
: base(window)
{
_testWindowDrawable = new TestOverlayElement(this);
AddWindowElement(_testWindowDrawable);
EnableDrawableTouchHandling = true;
Tapped += OnTapped;
}
async void OnTapped(object sender, WindowOverlayTappedEventArgs e)
{
if (!e.WindowOverlayElements.Contains(_testWindowDrawable))
return;
var window = Application.Current.Windows.FirstOrDefault(w => w == Window);
System.Diagnostics.Debug.WriteLine($"Tapped the test overlay button.");
var result = await window.Page.DisplayActionSheet(
"Greetings from Visual Studio Client Experiences!",
"Goodbye!",
null,
"Do something", "Do something else", "Do something... with feeling.");
System.Diagnostics.Debug.WriteLine(result);
}
class TestOverlayElement : IWindowOverlayElement
{
readonly WindowOverlay _overlay;
Circle _circle = new Circle(0, 0, 0);
public TestOverlayElement(WindowOverlay overlay)
{
_overlay = overlay;
}
public void Draw(ICanvas canvas, RectangleF dirtyRect)
{
canvas.FillColor = Color.FromRgba(255, 0, 0, 225);
canvas.StrokeColor = Color.FromRgba(225, 0, 0, 225);
canvas.FontColor = Colors.Orange;
canvas.FontSize = 40f;
var centerX = dirtyRect.Width - 50;
var centerY = dirtyRect.Height - 50;
_circle = new Circle(centerX, centerY, 40);
canvas.FillCircle(centerX, centerY, 40);
canvas.DrawString("🔥", centerX, centerY + 10, HorizontalAlignment.Center);
}
public bool Contains(Point point) =>
_circle.ContainsPoint(new Point(point.X / _overlay.Density, point.Y / _overlay.Density));
struct Circle
{
public float Radius;
public PointF Center;
public Circle(float x, float y, float r)
{
Radius = r;
Center = new PointF(x, y);
}
public bool ContainsPoint(Point p) =>
p.X <= Center.X + Radius &&
p.X >= Center.X - Radius &&
p.Y <= Center.Y + Radius &&
p.Y >= Center.Y - Radius;
}
}
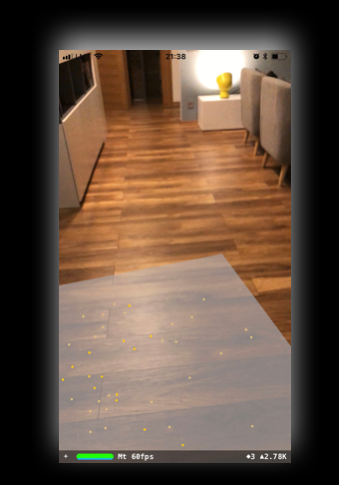
}On my iPad simulator, I was able to see the drawing. The tapped method was not working for me.
Now we know the drawing code is working but not how it is all linked together, the clues might just be IWindowOverlayElement and Draw.
If we then take a look in the MAUI codebase we can see that the Draw method also exists on the WindowOverlay, it loops over the elements and draws them. I assume (hope) there’s some type of visual invalidation hierarchy in this window overlaying.
/// <inheritdoc/>
public void Draw(ICanvas canvas, RectangleF dirtyRect)
{
if (!IsVisible)
return;
foreach (var drawable in _windowElements)
drawable.Draw(canvas, dirtyRect);
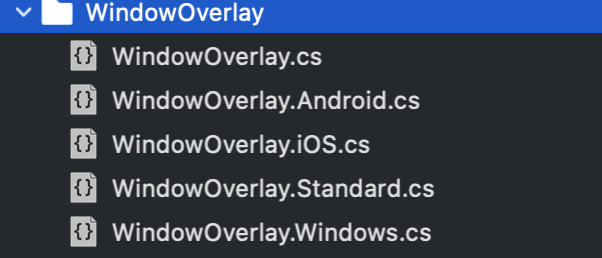
}Also noting that I’ve discovered WindowsOverlay is a partial class and there’s a native implementation in each.
Now I need to find out how/when/why the Draw method is called.
After a bit of digging, I found some answers inside the native implementations of the WindowOverlay. What happens is that the WindowOverlay grabs the native Layer and then draws itself on top using the NativeGraphicsView to map the drawing in the Overlay to a view that can be seen natively. Below is the iOS version.
// Create a passthrough view for holding the canvas and other diagnostics tools.
_passthroughView = new PassthroughView(this, nativeWindow.RootViewController.View.Frame);

// the native graphics view calls the draw methods
_graphicsView = new NativeGraphicsView(_passthroughView.Frame, this, new DirectRenderer());
_graphicsView.AutoresizingMask = UIViewAutoresizing.All;

_passthroughView.AddSubview(_graphicsView);

...

// Any time the frame gets a new value, we need to update and invalidate the canvas.
_frameObserver = nativeLayer.AddObserver("frame", Foundation.NSKeyValueObservingOptions.New, FrameAction);
// Disable the graphics view from user input.
// This will be handled by the passthrough view.
_graphicsView.UserInteractionEnabled = false;

// Make the canvas view transparent.
_graphicsView.BackgroundColor = UIColor.FromWhiteAlpha(1, 0.0f);

// Add the passthrough view to the front of the stack.
nativeWindow.RootViewController.View.AddSubview(_passthroughView);
nativeWindow.RootViewController.View.BringSubviewToFront(_passthroughView);

// Any time the passthrough view is touched, handle it.
_passthroughView.OnTouch += UIViewOnTouch;
IsNativeViewInitialized = true;
return IsNativeViewInitialized;
It looks like the only way to use overlays is through canvas drawing, this means none of the .NET MAUI Controls or functionality will work with overlays. Some initial problems that I can see at this point, what about transitions and animations?.
As a basic requirement we need to update the UI based on state changes, I was able to do this by using the Invalidate method on the Overlay.
Device.StartTimer(TimeSpan.FromMilliseconds(500), () =>
{
	_size += 10;
	_overlay.Invalidate();
	return true;
});
So we’ve coved the basic questions, what are they and how is it implemented natively. What about the other questions?
How does it maintain state, including during page navigation? I have not tested this specifically but based on the architecture I would suggest it does maintain the state.
Do gestures pass-through to underlying views? This worked well, when I tapped where the drawing was then gestures did not pass-through but when I tapped outside of the drawing the gestures did pass-through.
How is it related to the traditional navigation style and Shell? This functionality sits completely outside of navigation and shell.
What can we use it for? In the future I would like to see it used to build outstanding user experiences, eg popovers, toast messages, alerts and slideovers.
How do we animate/transition it? Not sure exactly, I don’t think we can use any of the the animation libraries available in .NET MAUI (.NET MAUI Animations, Lottie or Native APIs).
Summary
- Uses the Drawing capability of .NET MAUI
- We can have multiple overlays and multiple overlay elements.
- We can add and remove overlays
- Overlays provide a canvas and draw method which allows you to draw on the screen.
- No support for Controls, Animations or Transitions
- Has the ability to invalidate and redraw
My thoughts
I think that overlays are a great idea and something that I could get excited about but in my current knowledge it seems that overlays provide a fairly limited functionality. Considering that the overlay feature needs to be supported and maintained if built, then ideally it should be a useful feature.
I think that with overlays you should be able to create something like slideoverkit and popups with animations/transitions etc, ideally it would support all the functionality create these easily or allow the extensibilty to create these.
I would suggest it will need to be able to support controls, animations and transitions.
We know that .NET MAUI is still early days so I hope that we can see this functionality developed further.